Auto Focus
Overview
The auto focus feature automatically adjusts the camera focus to achieve the sharpest possible image of the workpiece in the Vision Area. It is especially useful when frequently switching between measurement regions, improving both measurement efficiency and image quality.
Prerequisites
- The workpiece is within the machine's measurement range
- The camera and illumination are properly connected
- The ambient lighting is stable
Steps
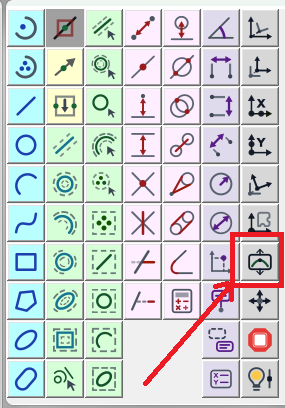
Step 1: Click the Focus Button
Find and click the focus button in the Measurement Bar to enter focus mode.
Step 2: Select the Focus Area
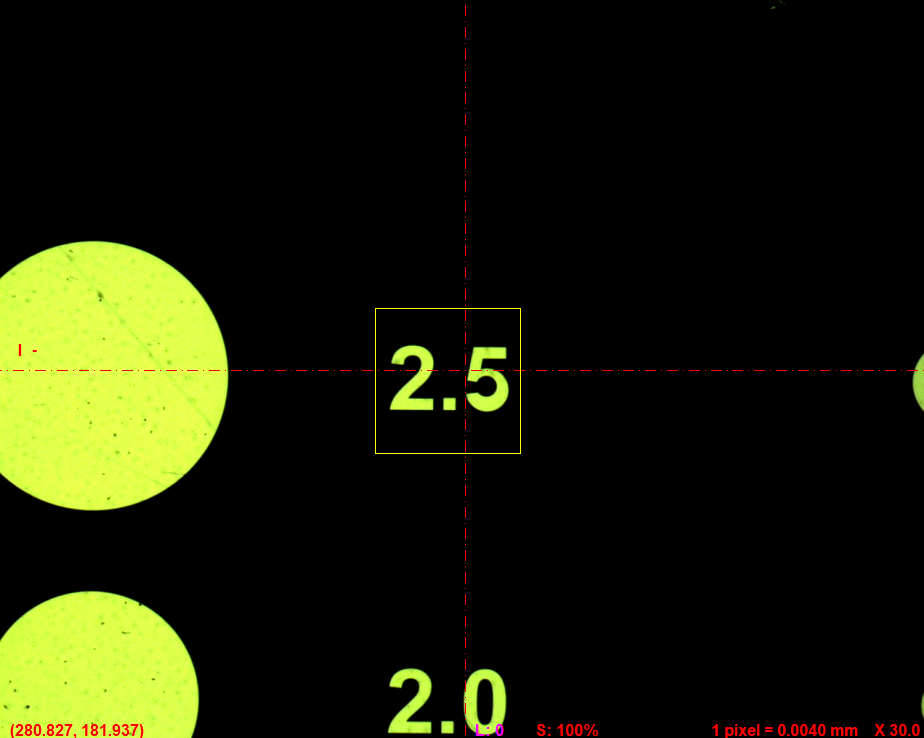
Choose the area to focus on within the Vision Area. A yellow focus frame will appear.
- Move the focus frame: Drag the frame to the desired focus position
- Resize the focus frame: Drag the edges of the frame to adjust the focus area size
Step 3: Trigger Auto Focus
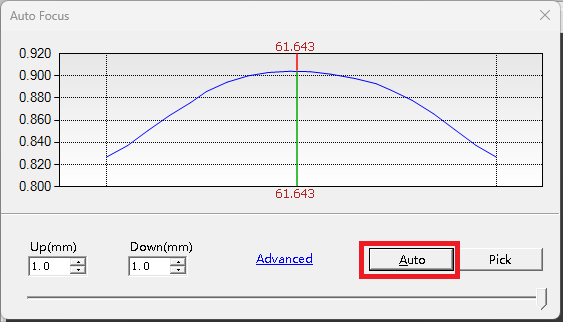
Click the Auto button, and the software will automatically focus on the selected area until the image reaches optimal sharpness.
Notes
- For best results, select an area with visible edges or texture patterns to improve focus accuracy
- If auto focus results are unsatisfactory, adjust the focus frame size and try again
- A focus frame that is too small may result in unstable focus; choose an appropriately sized area
- Focus performance may vary at different magnifications; use manual fine-tuning if necessary